Are we (schools) entering a Post-PC world or more of a post local storage world?
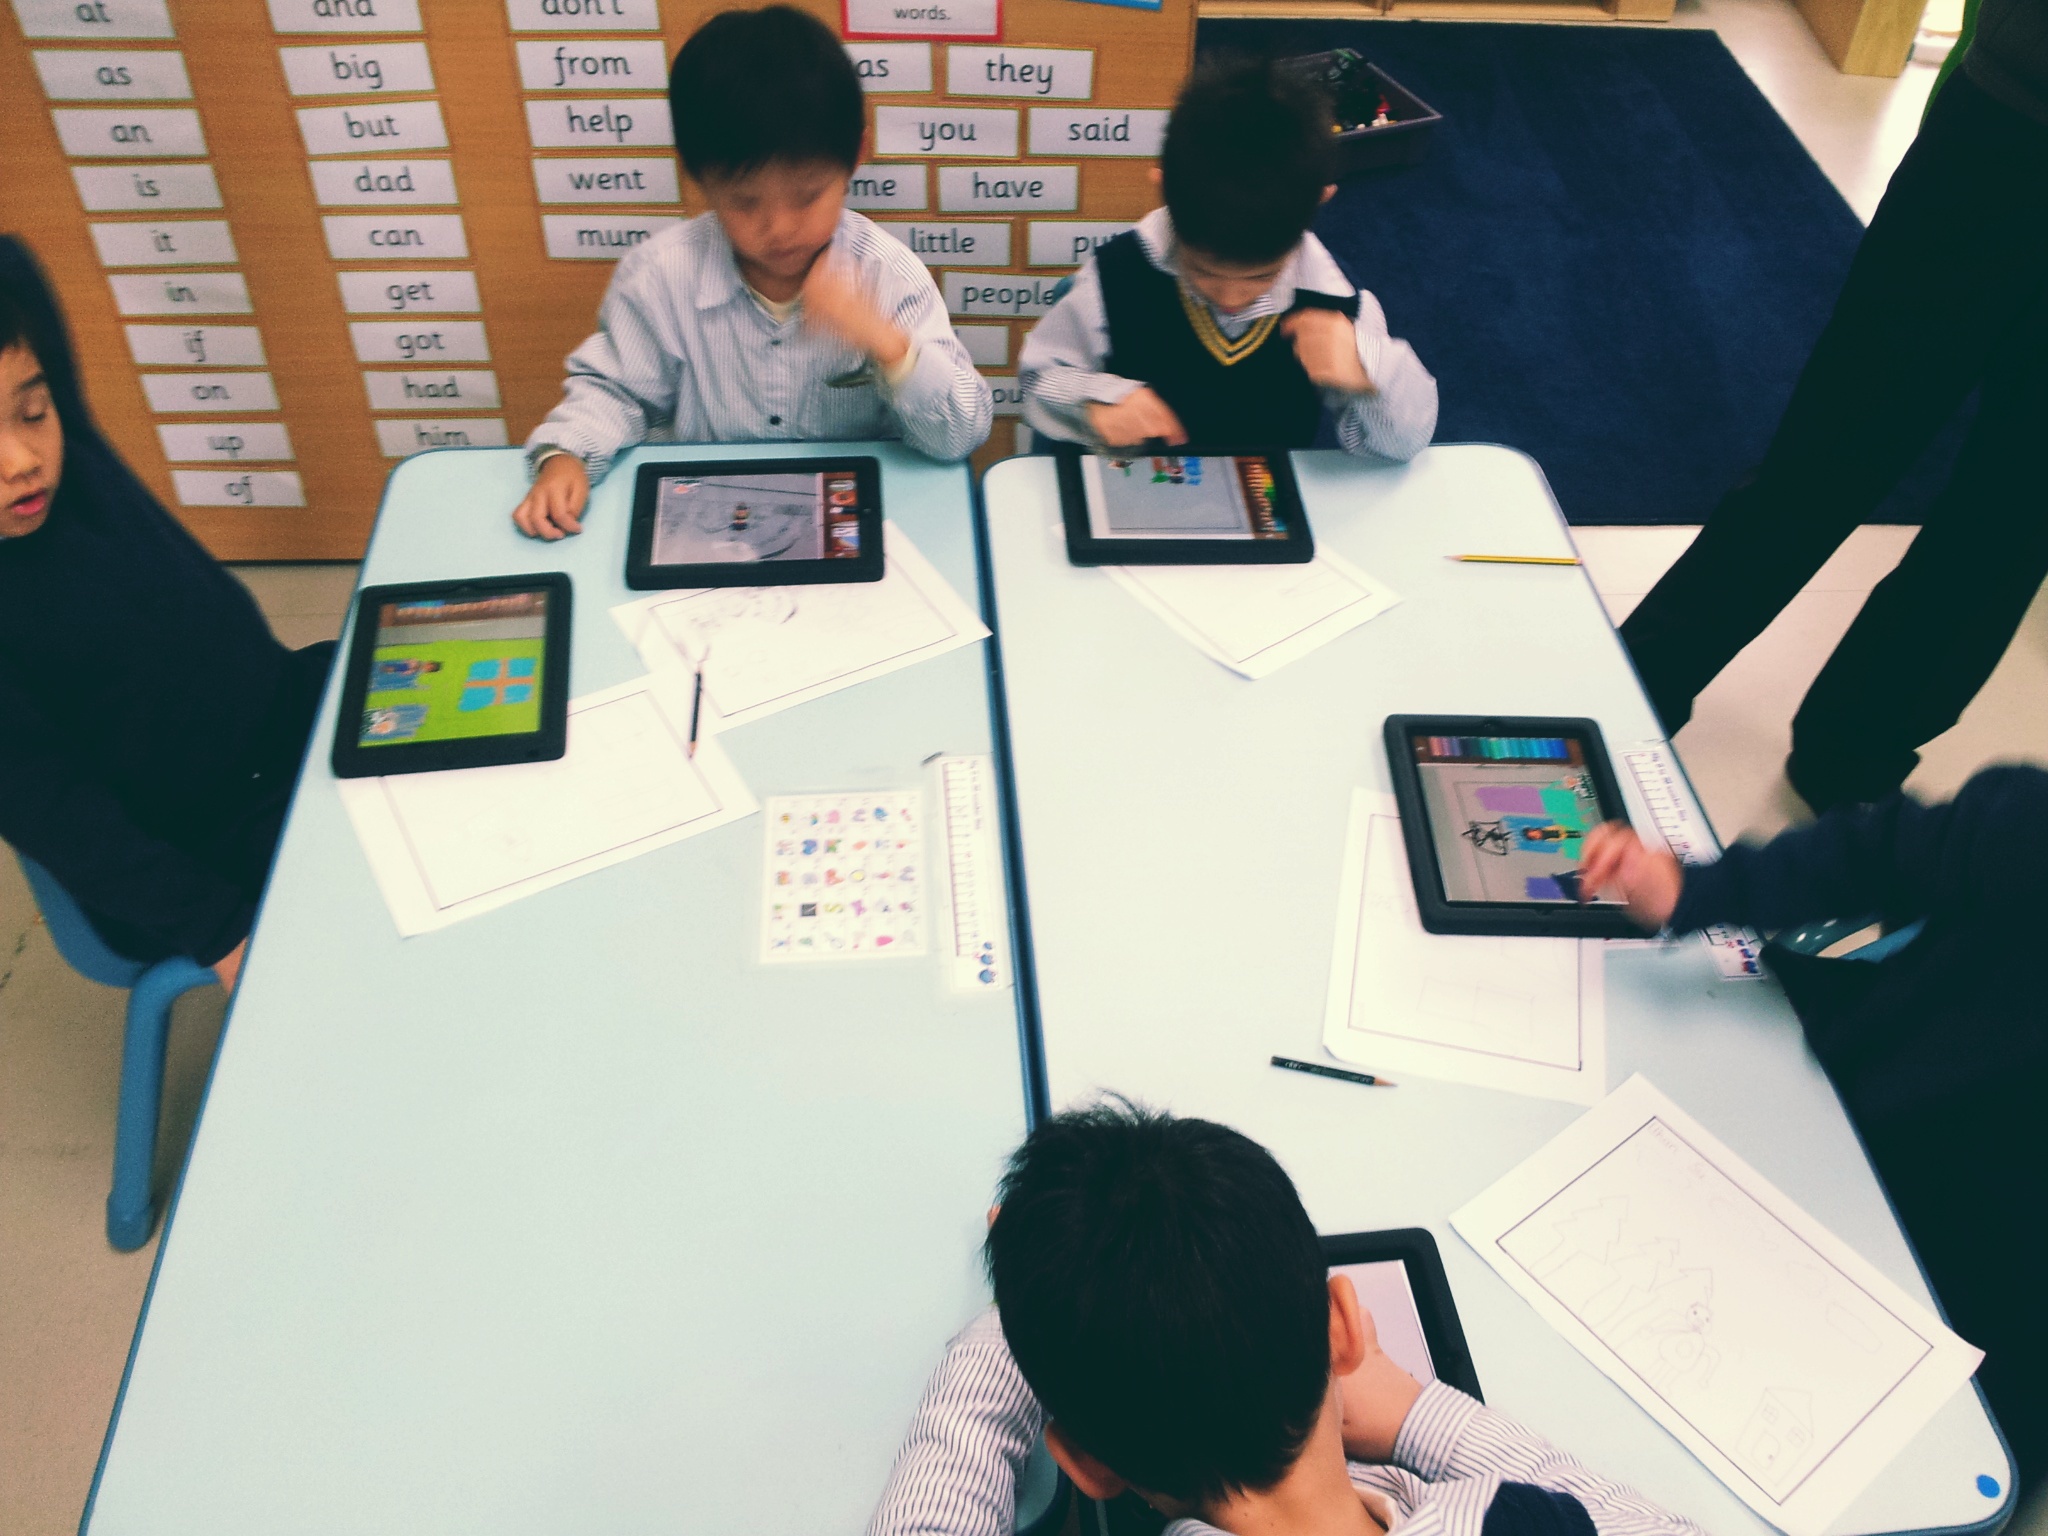
There are many times now that I feel that the iPad is becoming more and more the 'go to' choice for primary ICT. An obvious statement in many quarters and for good reason. Let's take the most recent requests for booking out digital cameras. Staff and students want to film their assembly or something in-class and then wonder how to edit it quickly and conveniently after they're done. What can they do?
This is how a request generally goes:
I offer them the flip cams and opening the film on the PCs as they're familiar with the format. "Windows crashed when I did that last time." They bemoan. "Mac?" "Too complicated!" They exclaim. I then offer support and a little bit of training. Still not interested as it takes up valuable time. So, what's the answer? Film directly into iMovie in short bursts. Edit later. Or use two or three iPads and film different things...from different angles and locations. You can see now just how easy it is to get creative and how simple it is for a novice teacher to produce and share. Although others disagree. And unnecessary.
What surprises me though are the comments I hear both off-the-cuff and in deep discussion (I see a lot online too 1. 2. 3.) that there isn't a "do-all" app made for every topic in every subject and "why doesn't this app have X,Y,Z levels of maths?". There isn't any single app that magically teaches your objectives. When that day comes the singularity will be heavily upon us and our teaching will have transmogrified into marix like quests for our pupils. So, before our overlords descend and Morpheus becomes our Head teacher this notion is echoed in this write-up on edudemic:

1. Focusing on content apps
The most common mistake teachers make with iPads is focusing on subject-specific apps. In doing so, many completely overlook the full range of possibilities with the iPad. I think of a Latin teacher who declared the iPad useless because he couldn’t find a good Latin app.
This is where I would like to take things a little further with our iPads. You see, the problem I have at my school and with many is that we use Windows PCs and Windows based Laptops. As many a school does and has for eons. With the current slew of iPads at half the cost of laptops and 2/3 of the cost of a PC (we replace the towers first) we are now in a position to look very closely at replacing the laptops in favour of iPads because the replacement procedure is almost the same.
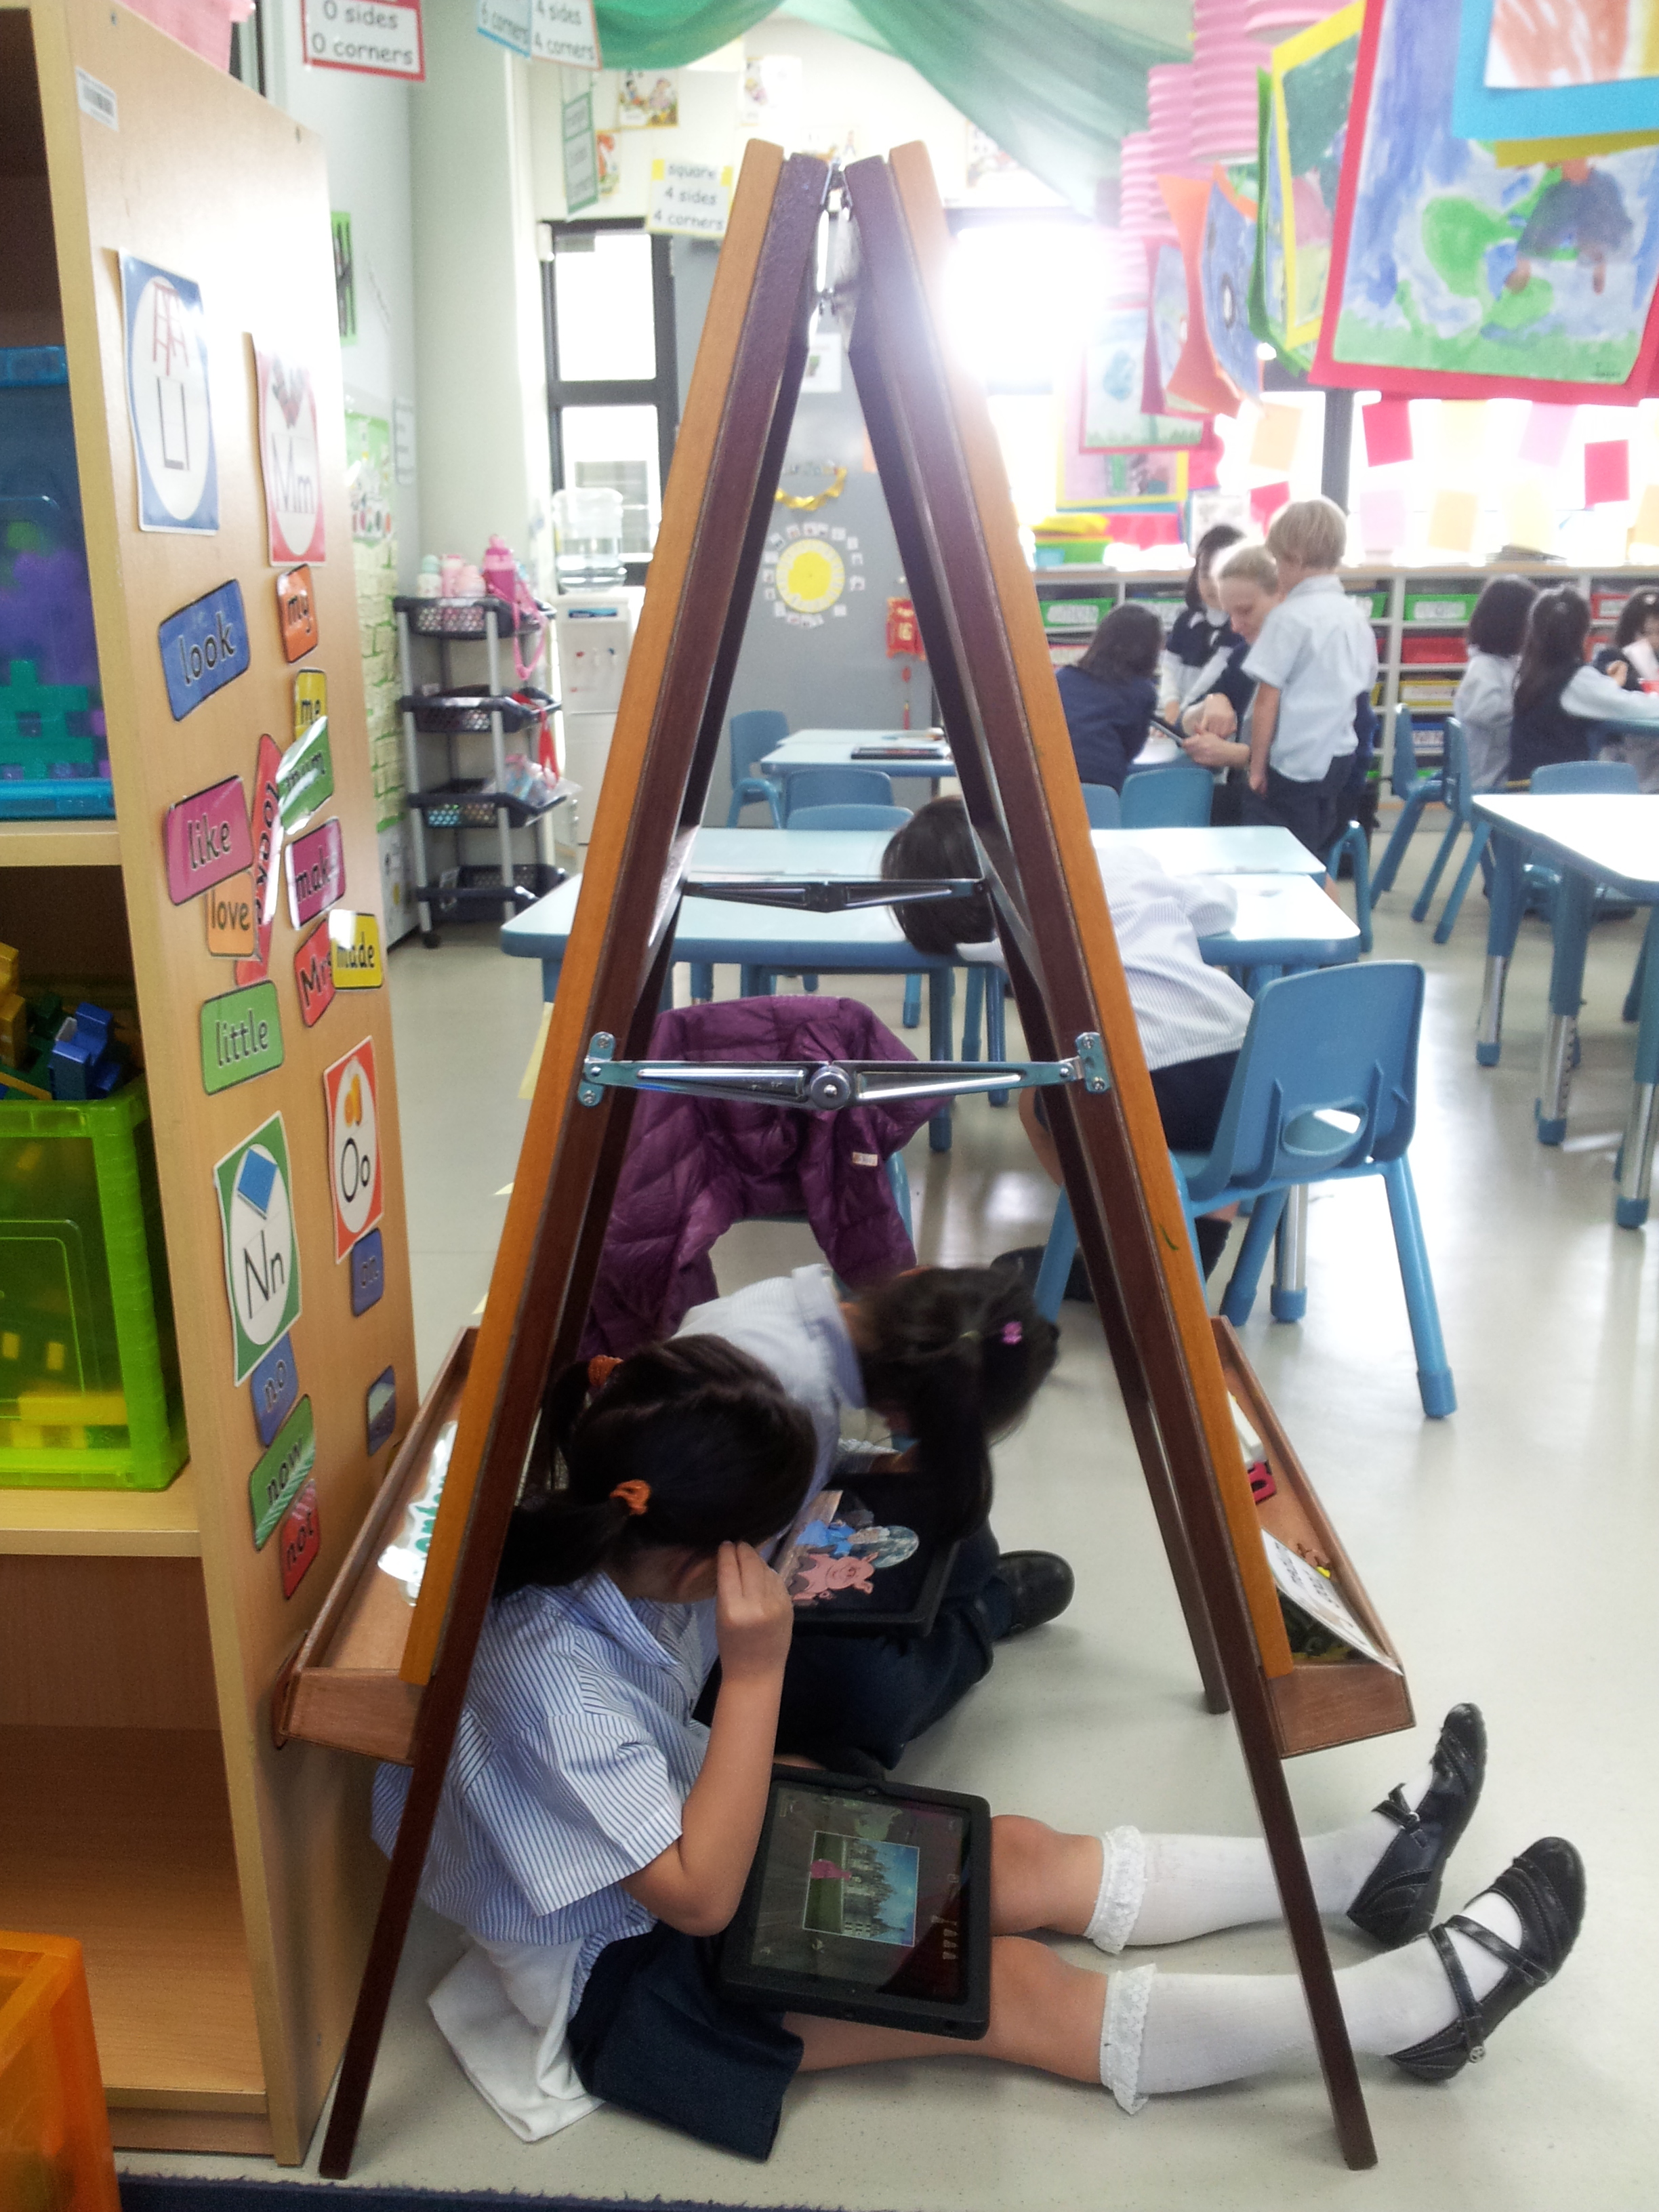
N.B. The 21CLHK Conference has just been and gone and the colleagues that went have reported back that the iPad is not the device you want in KS3/4 and 5 due to the lack of creation opportunities. Part of me was a little disappointed in that I'm not sure whether that's the staff saying that or the students. What I am certain of though is that it is definitely the way to go in primary. Half and Half iPads and laptops/ PCs/ Macs etc. There's little argument from my point of view and I hope that the following levels of ICT using very little in the way of anything other than a iPad (as an Android user too I am sure that you can replicate this with a Nexus 7 or 10 quite painlessly) .
Going back to the previous paragraph: Why might going fully towards iPads cause a problem? Well, if you think about how iPads don't like to share anything without an intermediary (dropbox, Box, Drive) it can cause all flavours hell to create something and edit it later say, at home ( a student needs to finish a project at home - not unusual) or later the following week. That now opens a decision tree many teachers are not comfortable with. And, too, students.
The decision for a teacher is to hold on to the iPad and keep in within the confines of the that app. Fine. That's what many of us do, or used to do when working on a PC. The PC had to do that really. I mean, you could chop and change and import an image or a table here and there or a edited photo to another application. You also had a saved file somewhere that could be accessed later. But, that was just about it. The logistical problem for many is the planning and booking of devices that causes issues when dealing with iPads. If you decide to keep the document for the students on the device, does this 'Single User' machine keep it if there is an anomaly from this week to the next? Not always. What if you're running out of space on a 16Gb version? What if iMovie has bottomed out the storage - which presentation do you remove?
What you need is a plan to be able to get the document exported and saved in a few options. Also, what if you want to edit this later on something else because you only have this lesson and the next as Year 6 have booked them all for an excursion the following Tuesday and you have to finalise your dance routine?
Stop focussing on one app and keep your options open.
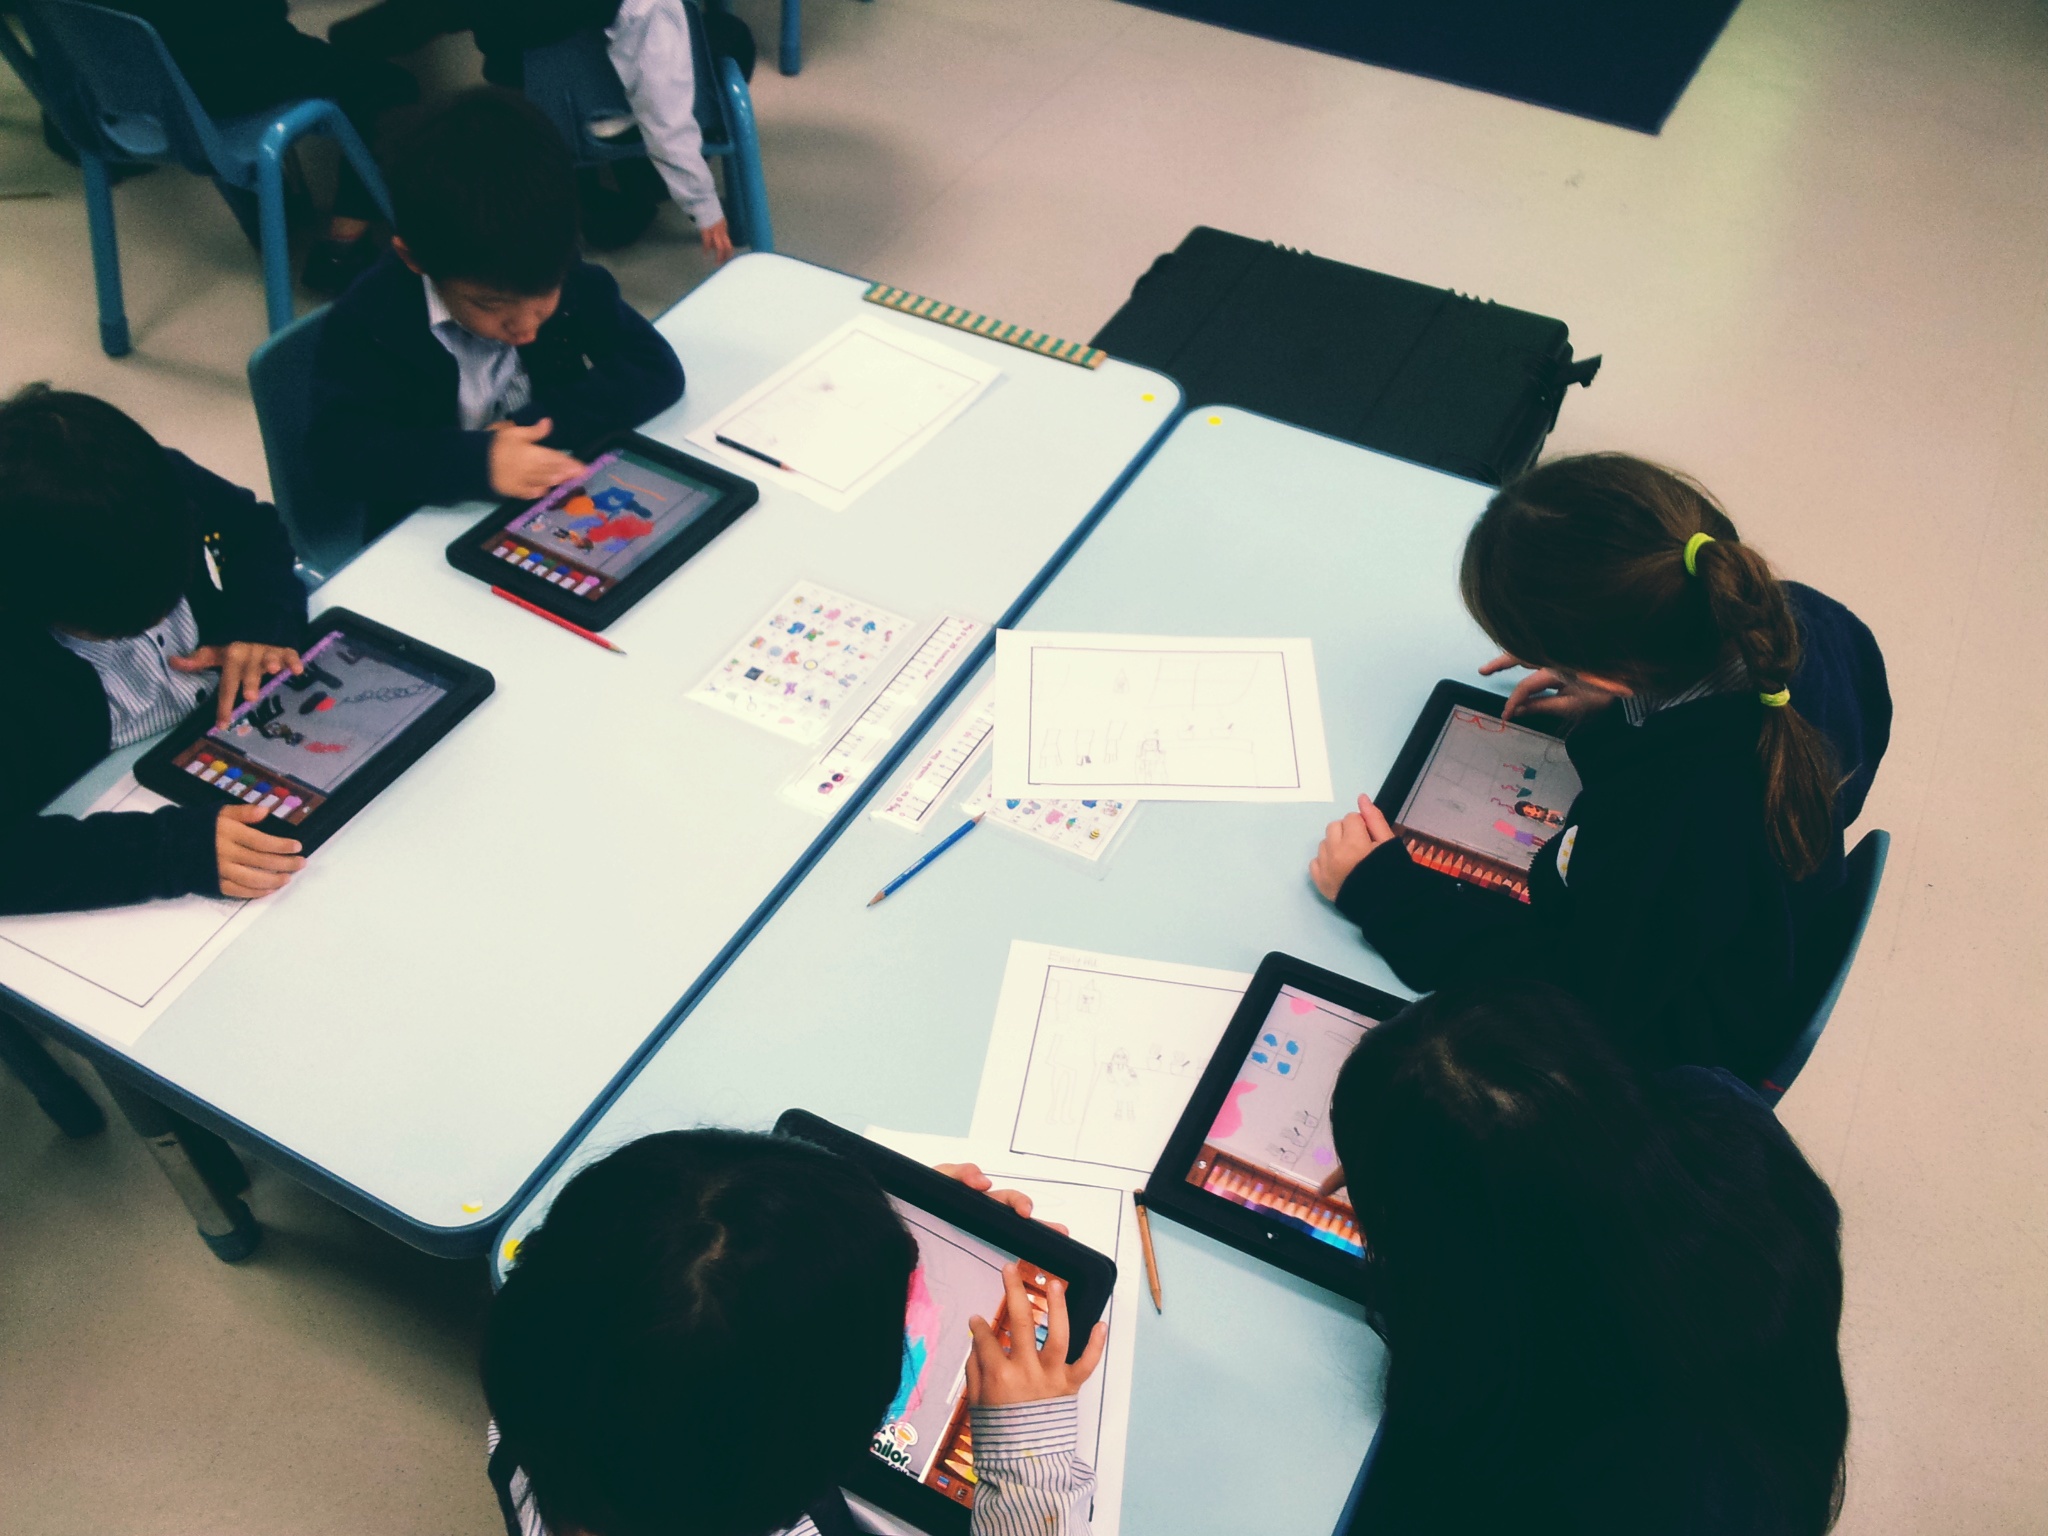
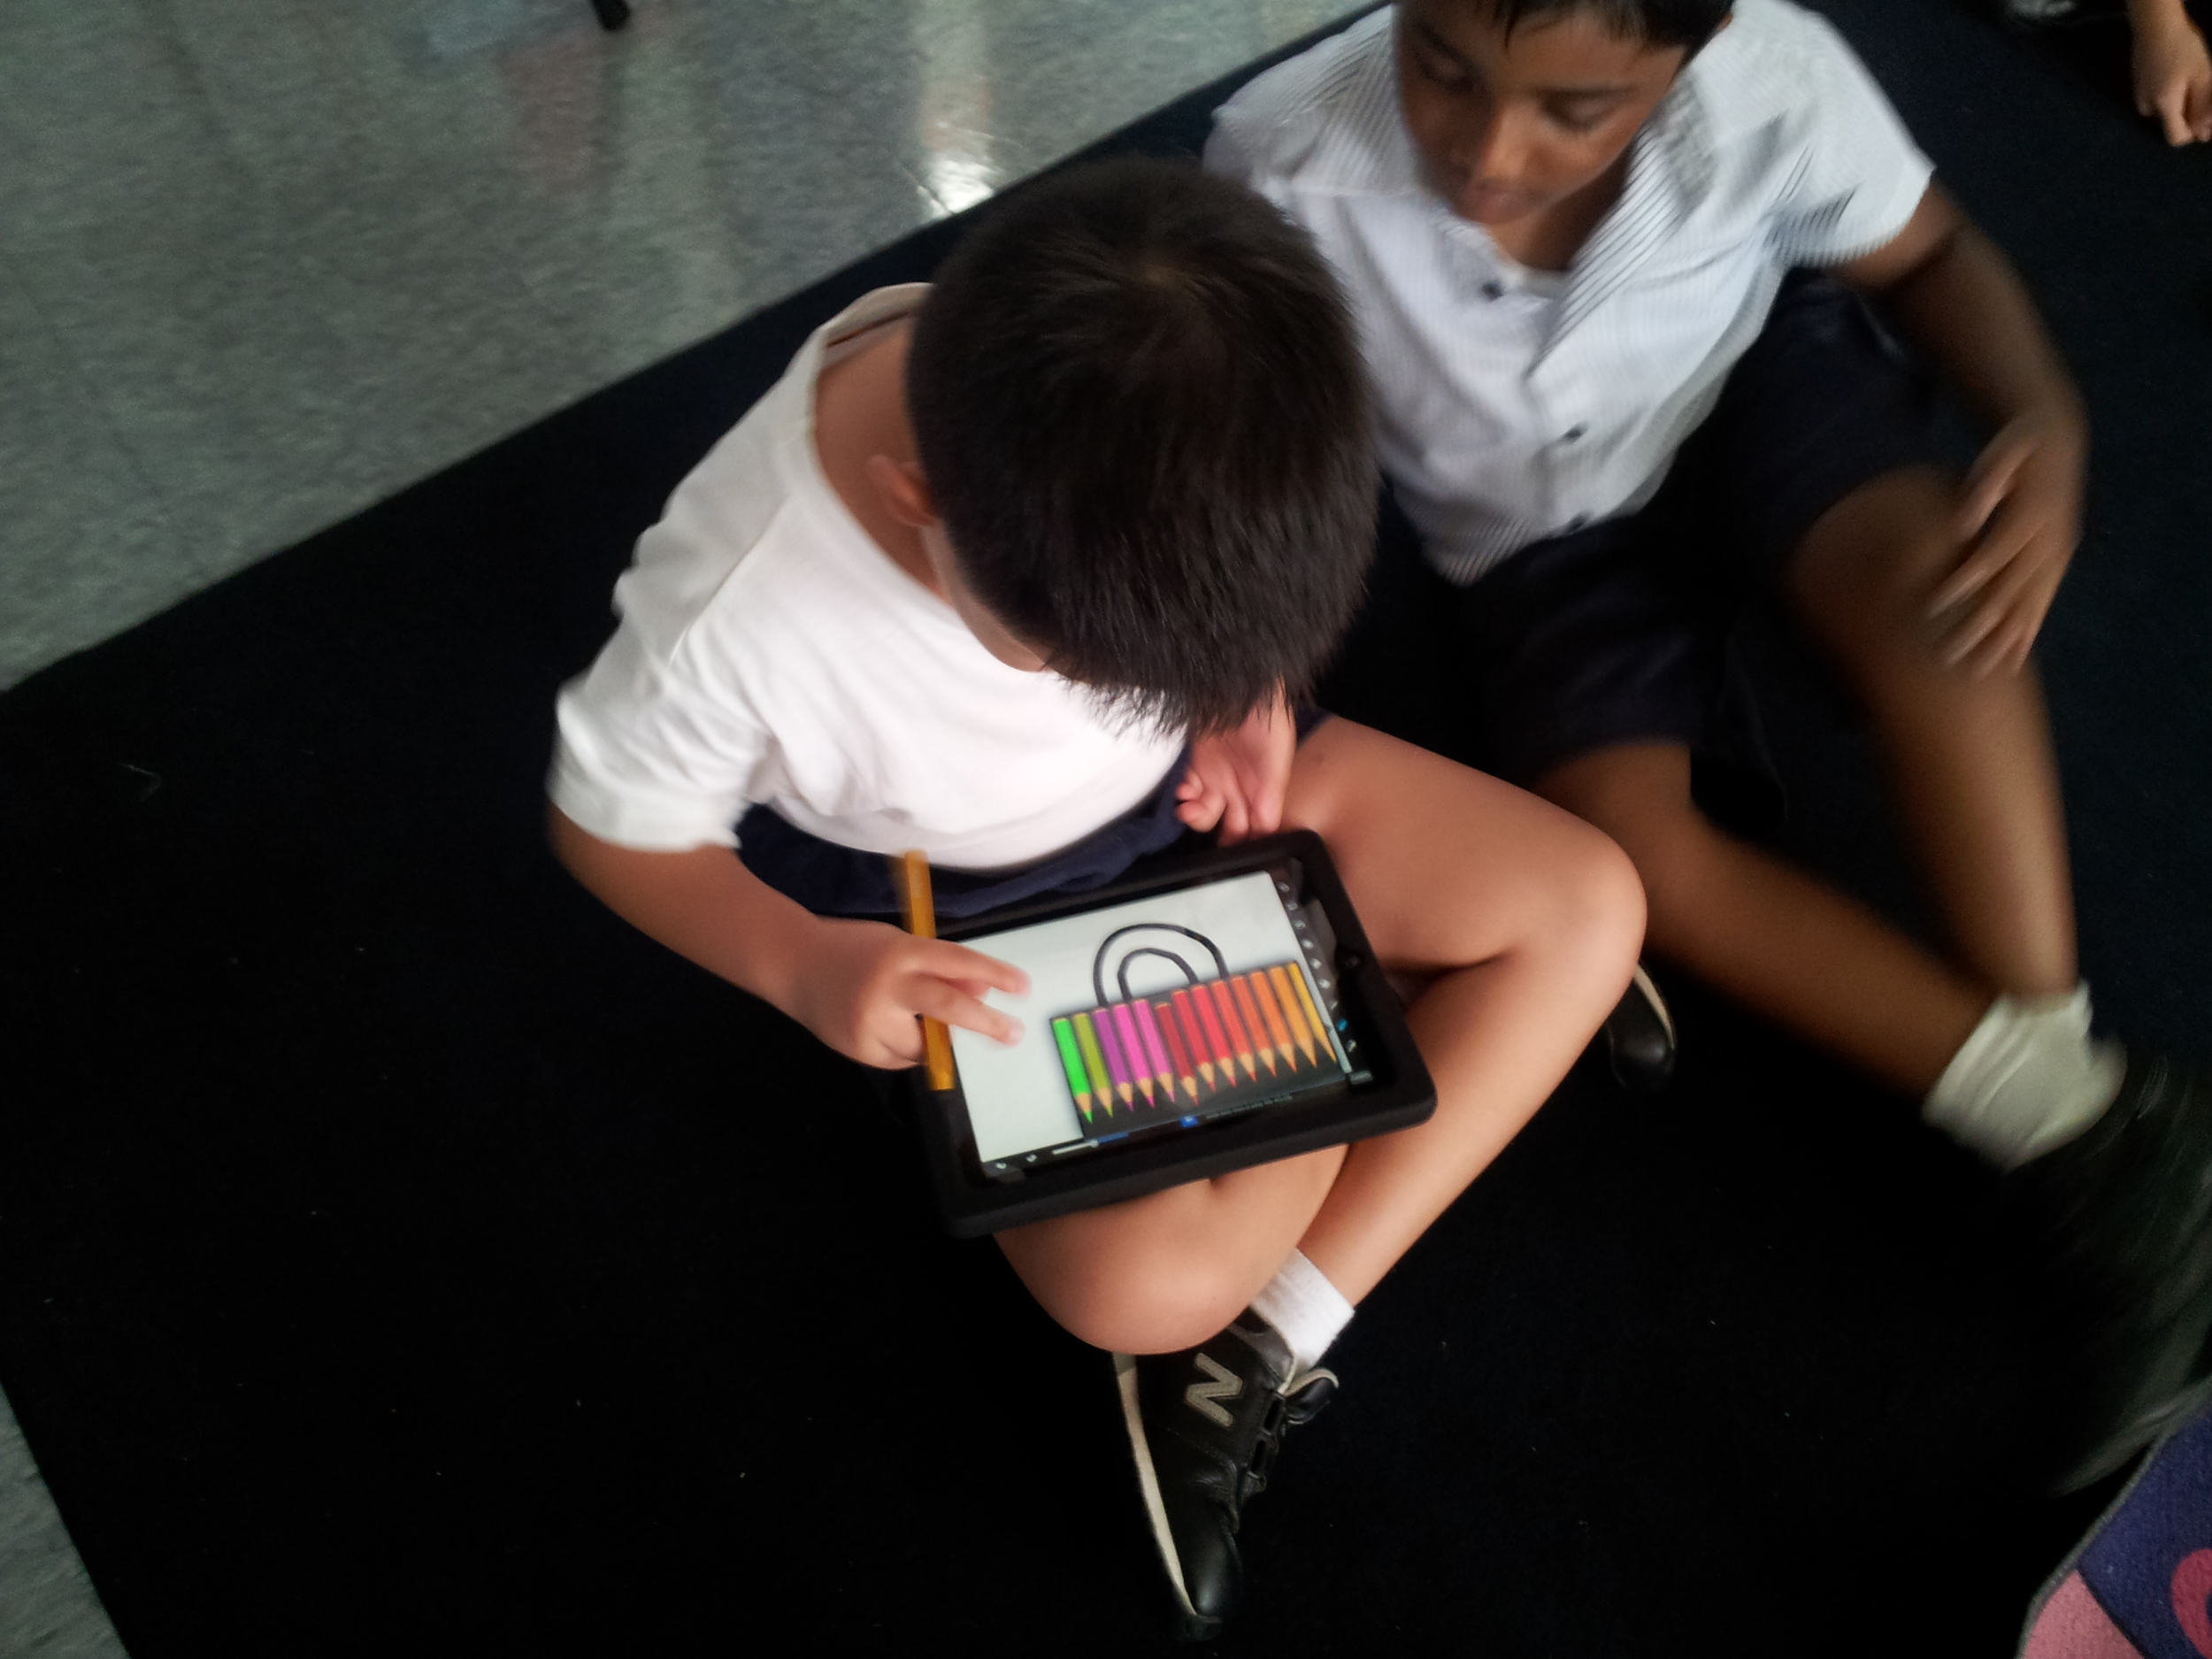
In the alternative PC world we might be inclined to have allowed the children Year 1 have recently been focussing on fairy tales and traditional stories. The, key to this if you're an infant/ KS1 teacher is that we have distinct settings, characters and a repetitive format of good Vs evil. Where, we kept the iPads in check is with the short burst strategy which actually works well in the lower school.
Year 1: Fairy tales all built in Comic Strip designer/ Toca Boca Fairy Tales/ Drawing pad for settings, character design and re-telling.
All in all this topic takes 5 weeks (10 x 40 minute discrete ICT lessons) including preparation of using new apps. Setting up the learning prior and during these weeks is extra. We did this in Literacy and Numeracy.
The great thing about this topic is that using these three apps needn't be a chore. You can get a lot out of the class in as little as two 40 minute periods (as long as they are prepped beforehand). And, the import/ export function is always very smooth.
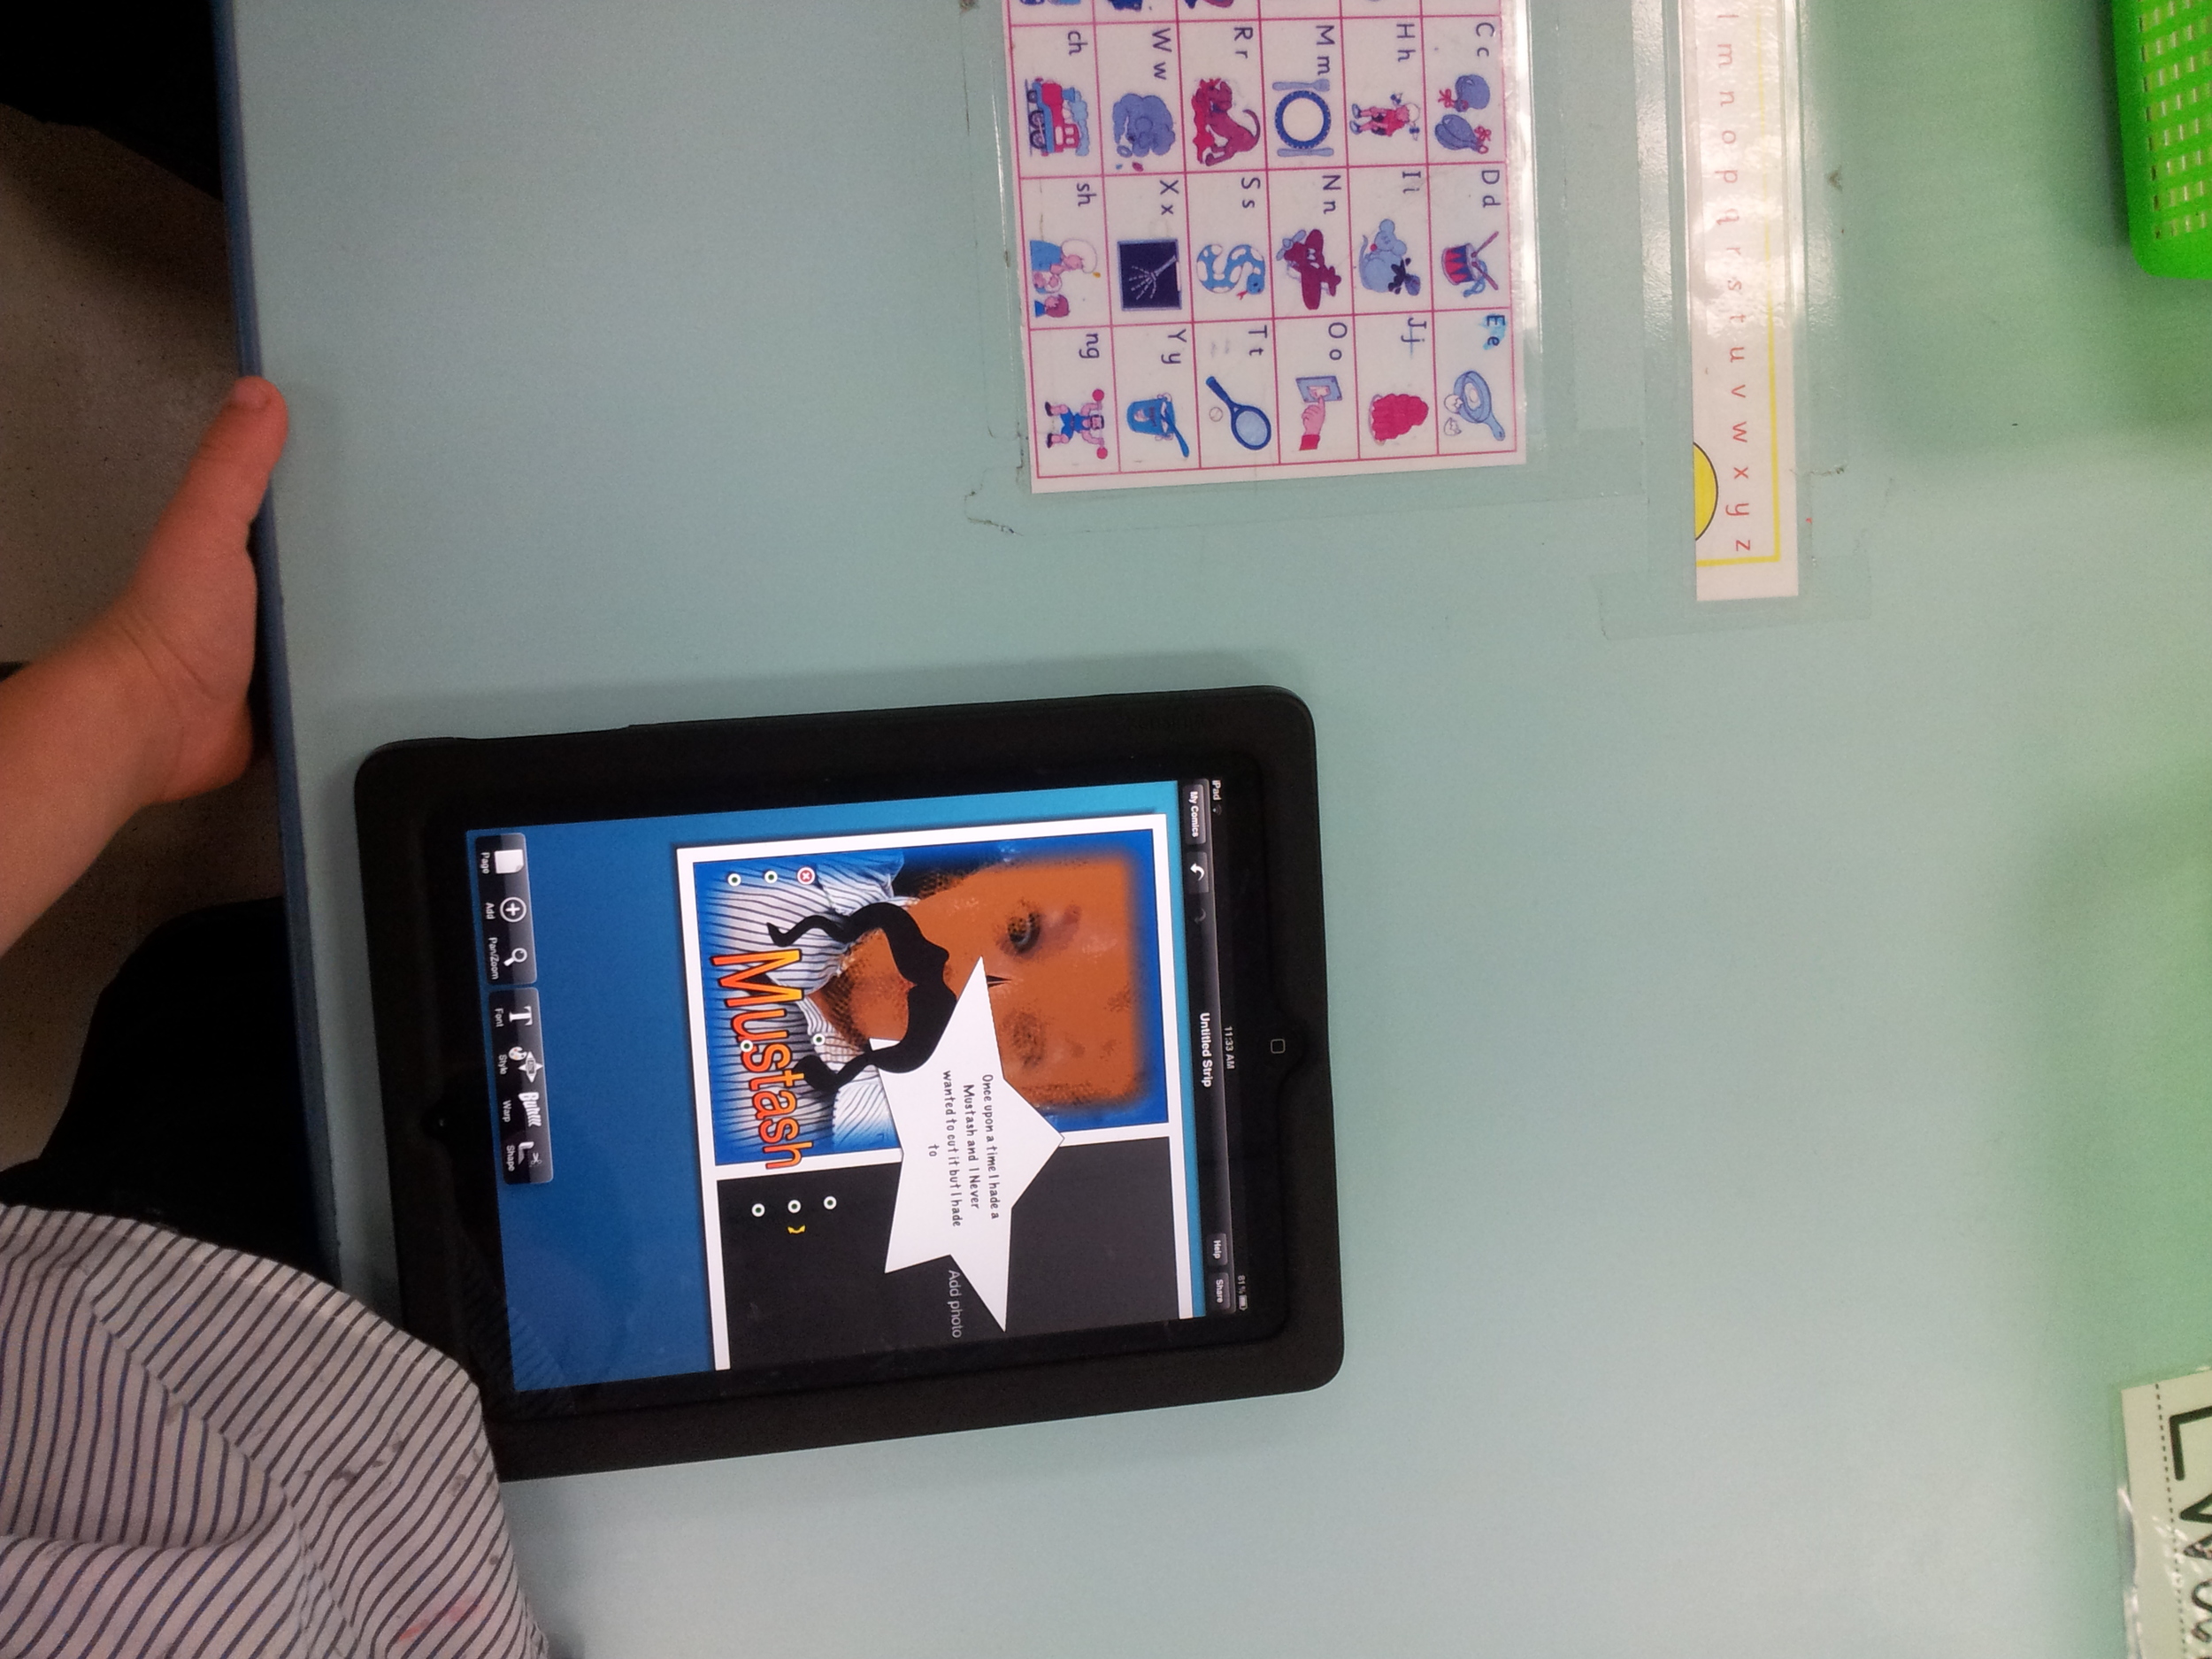
Part 1: Draw a setting from this week's fairy tale. This could be the castle, the forest, the top of the beanstalk or outside the candy-cane cottage. The children only need draw this in pencil without the characters.
Once finished open up Toca Boca Fairy Tales Tailor and build a character. Inside this app you can match the character, add clothes, design materials and take a photo of yourself and add the image to the clothing. What's even better is that you can add a setting to the character. Take a photo by arranging the character into position (pinch and Zoom) and it's automatically added to the Camera Roll.
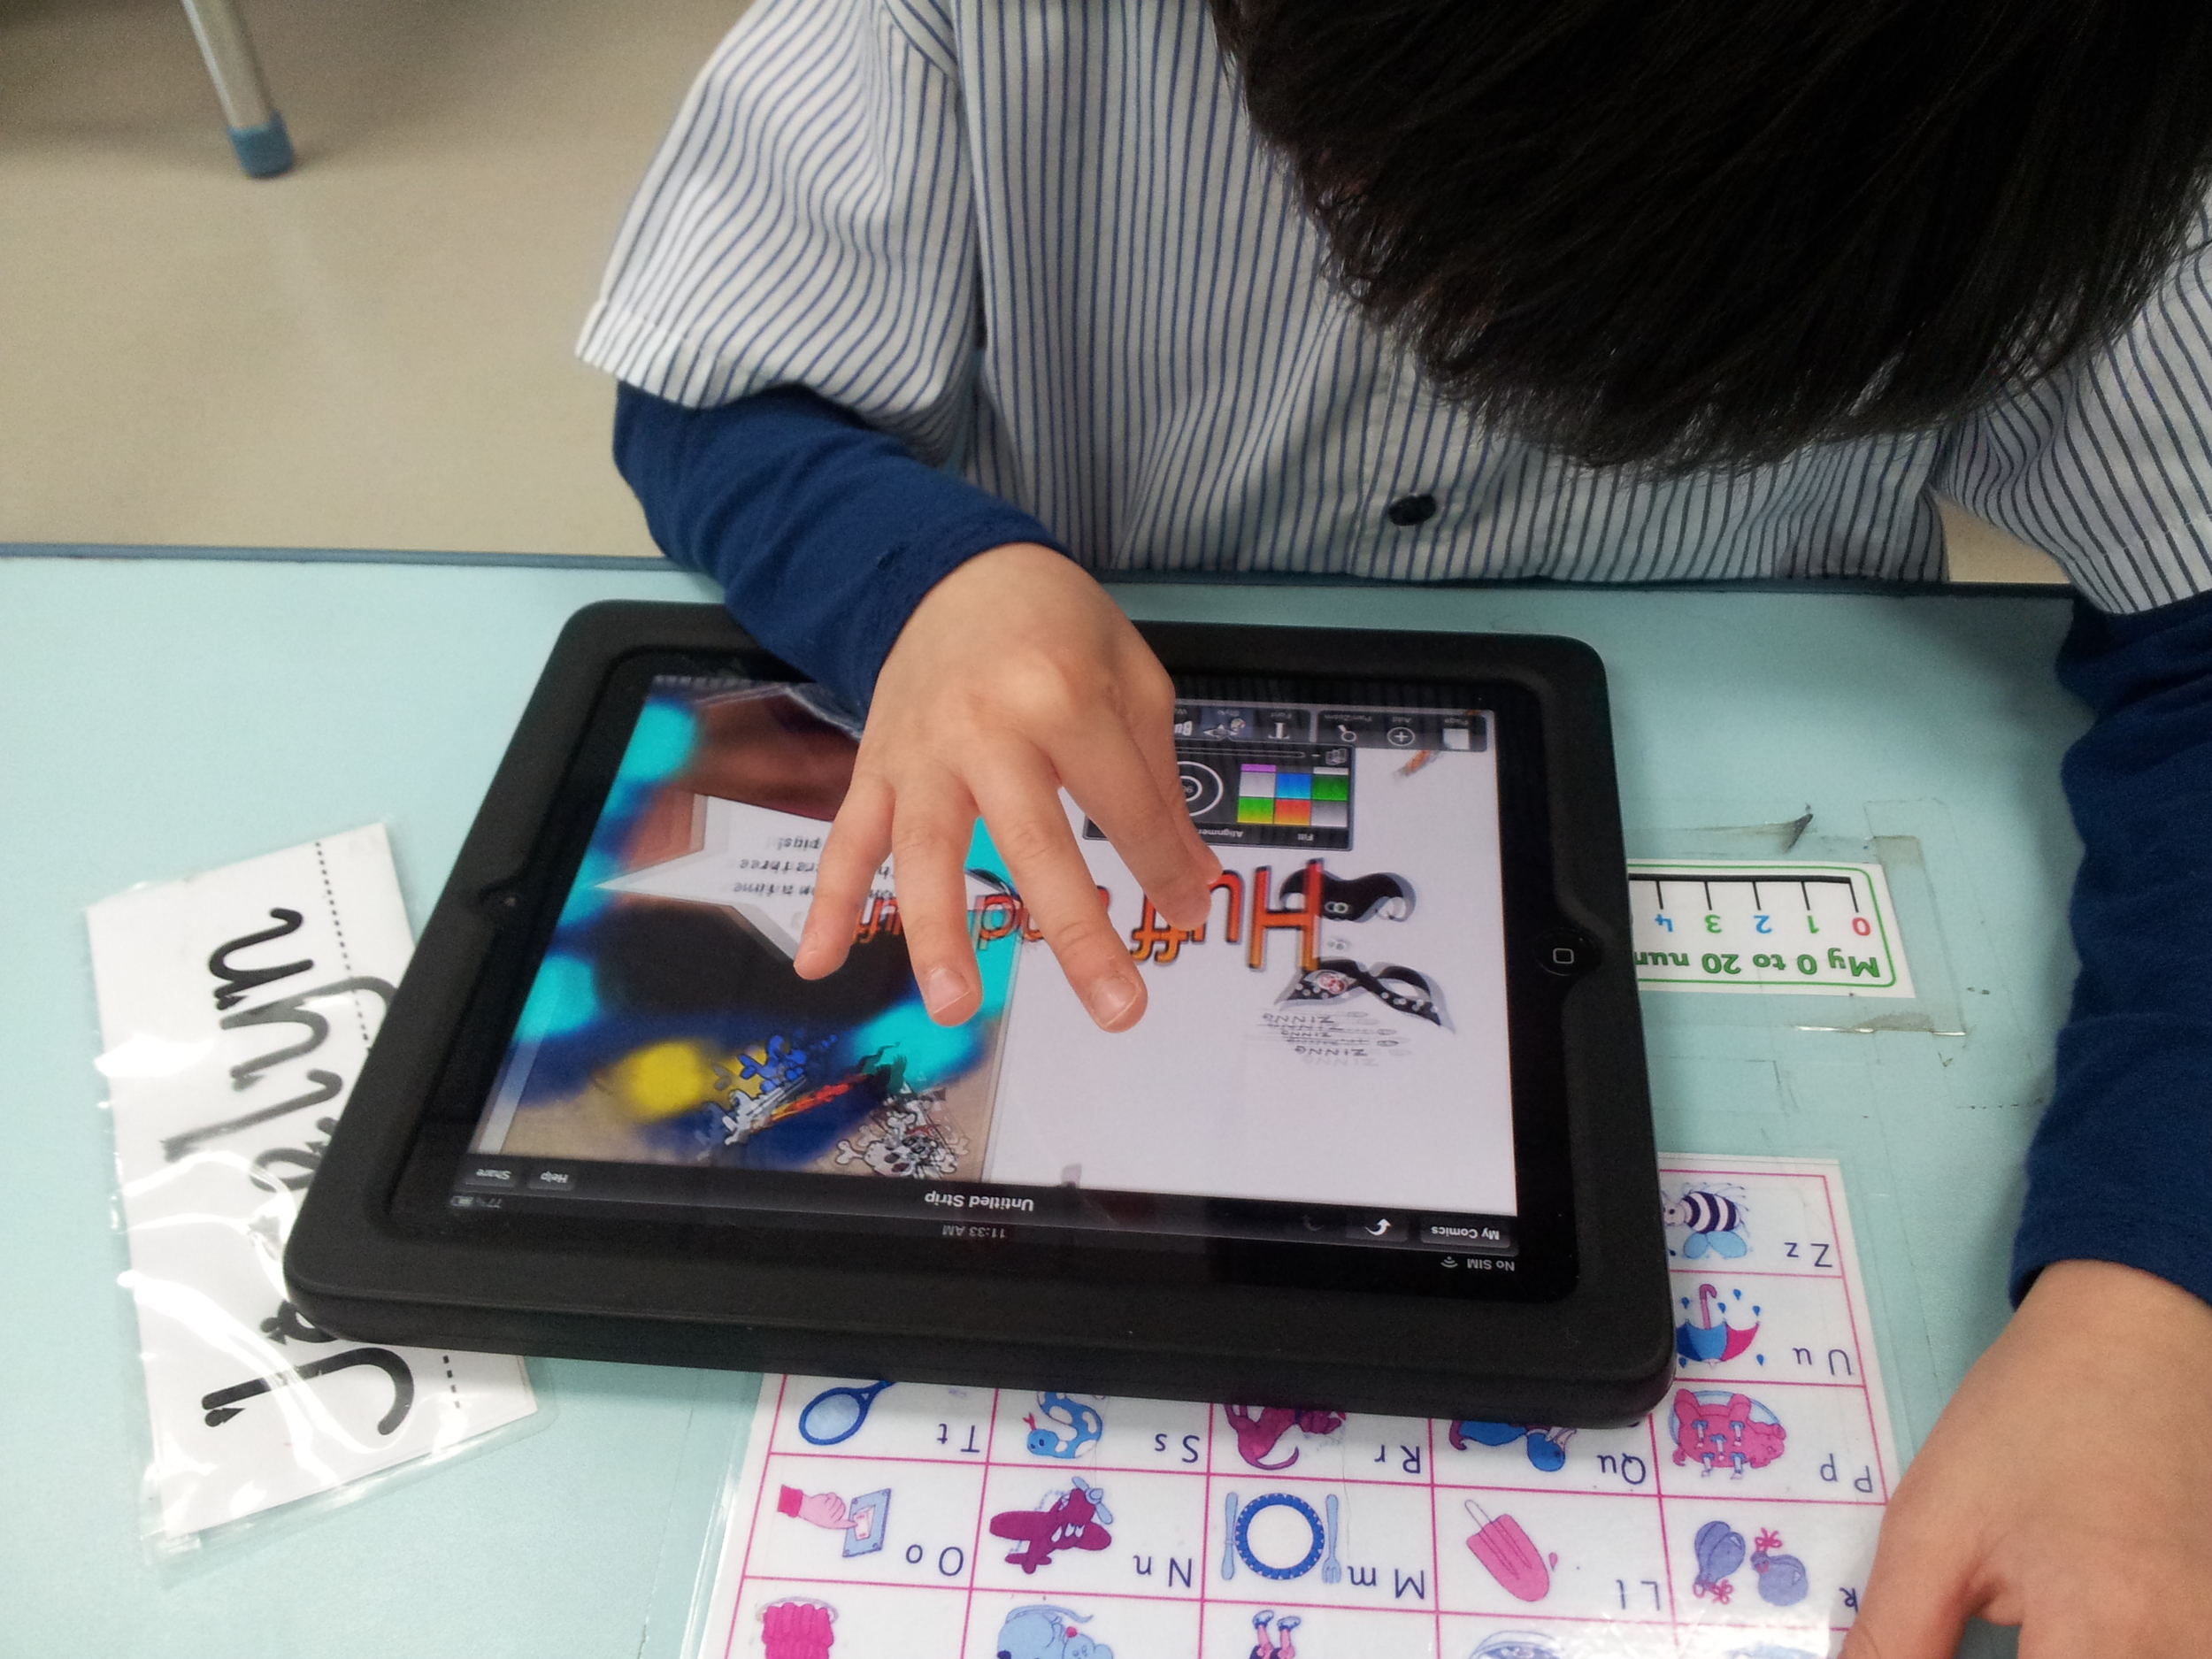
Next, import the photo into Drawing Pad. Colour in the areas and export to camera roll. Lastly, (this is where you need to have prepped the children in advance) open up Comic Strip Designer (POW!) and add the speech bubbles. The final part is key to the whole process. The typing (or writing as many of my students like to do - hit the globe on the keyboard and use the handwriting recognition) allows the children to focus on the story and label what is happening. This is especially important for follow-up work when building that learning of three parts to a story.
Year 1 part 2: Puppet pals but adding and understanding change of settings for fairy tales.
The great aspect to Puppet Pals is the backdrop function at the top of the stage. The, director's pass (in-app Purchase) allows children to take photos o their work or photos from a book and add their take on a story by either ad-libbing or from a prepared text. If the children have, for example, being learning about 3-D shapes in maths or D+T then they can easily build a cottage out of paper learning about nets, cubes, vertices and corners at the same time. Take a photo and add it to Puppet Pals. The children can then learn about perspective as they pinch and zoom their characters to fit the size of the cube/cottage/ cuboid.


The children can finish up by adding voices and fine-tuning their stories using the pause button in following lessons by adding things like sound effects, the voices they choose or even smells that Hansel and Gretel experience as they enter the kitchen, for example.
Year 2:
All about Me VIP/ Biomes. iMovie editing, stills, Pages for writing and exporting, Dropbox photos from home, filming, text over lays, credits and vocals + music.
This is a full-on and busy unit. This project takes about 5-6 weeks depending on extensions and how much you focus on the writing of a script. And, if you're running a Science topic rather than another topic-led project. The premise is to introduce the children to iMovie, its recording functions, the text functions and editing procedures.
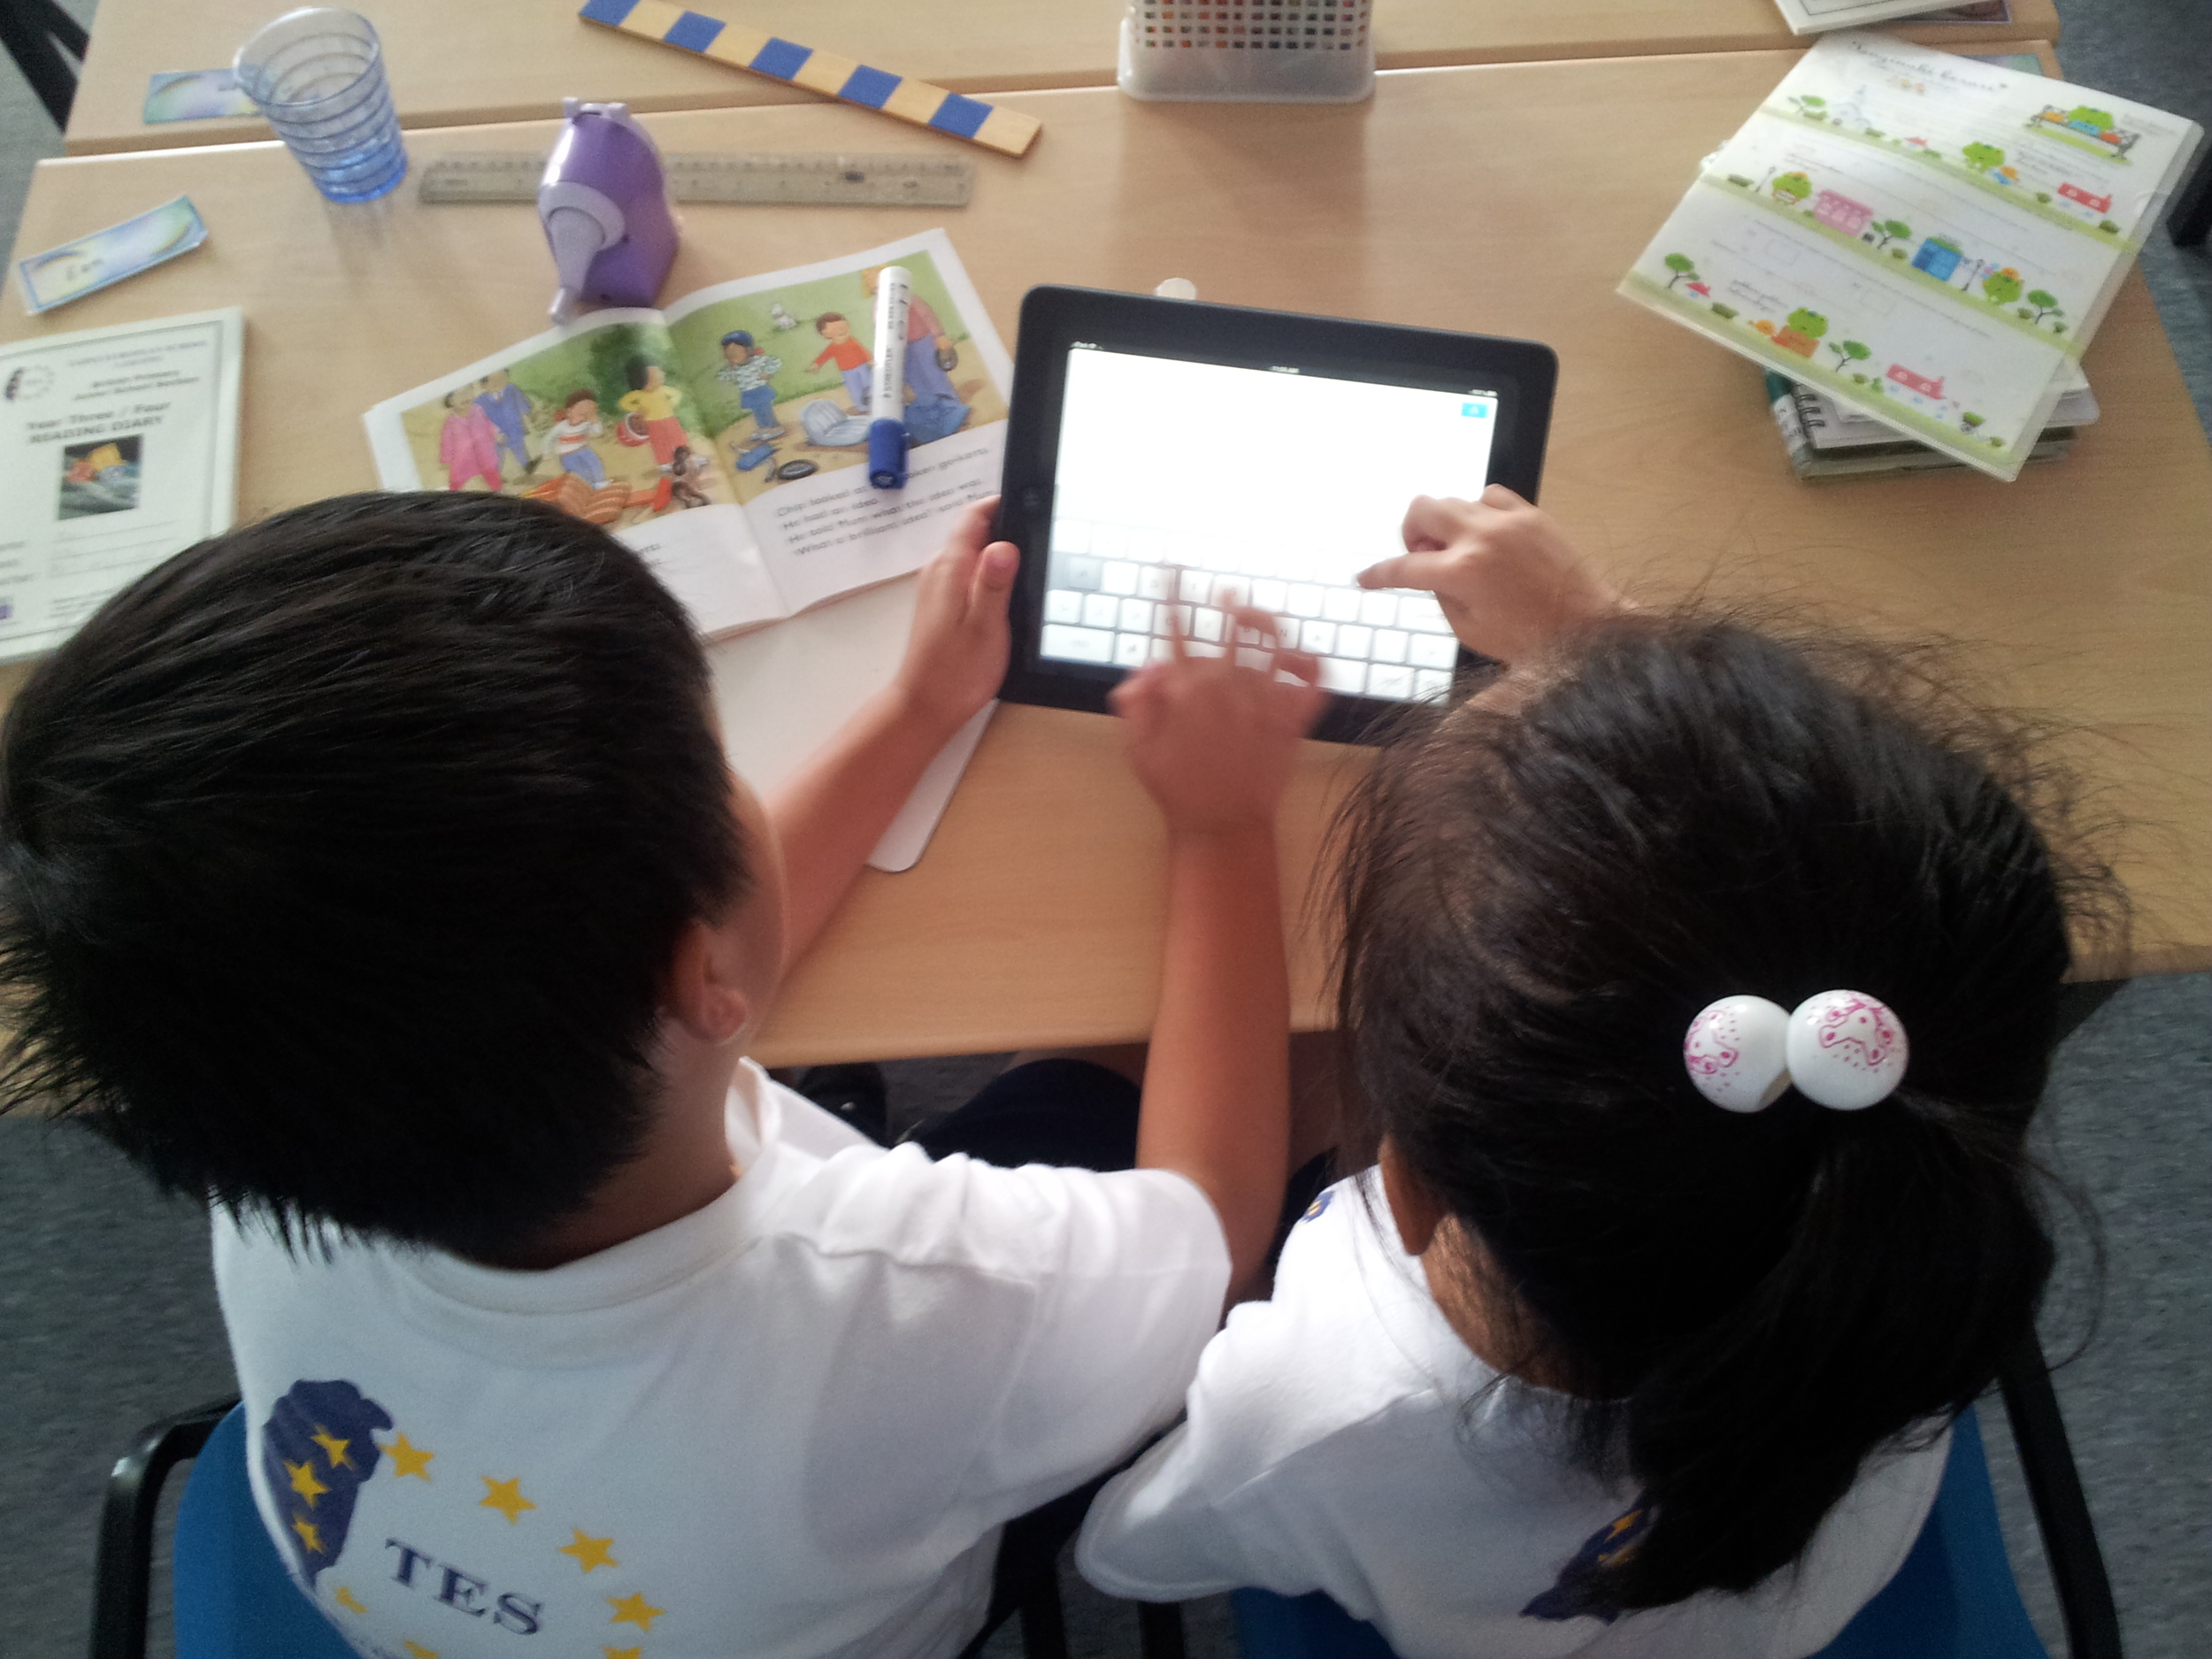
Initially the children have to collect information about themselves at the beginning of the year and put together a presentation about themselves and their family. The goal for this is the show at the end of the topic where all the parents get to view and download their movies.
To begin with Dropbox is used to collect all the photos of themselves and their family. Then, as the collection is filled with choices the children then import to the camera roll and then into the timeline. At the same time, the children are recording their writing about what they were doing in the photo and ad-libbing where possible.
Next, add text, transitions and titles. Lastly, add sound. We left the sound till last because we had to teach the children about looking after the earbuds and the need to only listen to the music a few times and not ALL DAY at FULL VOLUME!
Extensions to this are: revision of puppet pals - cutting out a photo of themselves from one of their holiday snaps and telling the story that way before they export the movie and import to iMovie. Comic Strip Designer with text and photos where the children have written up their text as speech bubbles. Use Ken Burns to make transitions work from exported images of Comic Strip Designer.
N.B. If you try this and have more than one class per box of iPads then make sure you have enough storage for the iMovie projects.
Rule Number 3: Move your apps that you want to use to the home screen.
Year 3:
Adverts. Comic Life building Restaurant menus, Drawing Pad (or other like Vector) to make Logos etc, produce advert and import all files from drop box as images with taglines etc in vocals and text.
The reason I promote Comic Life now is that as they go into Year 4 and 5 they have to begin to be far more adept at using the Macs/ PCs and getting the Comic Life archives from Dropbox. So, this is a good way for them to get use do labelling their work. Also, Comic Life produces really nice images from export and even better ones when finished on the Macs/ PCs.
The use of Comic Life allows us to add differentiated levels to the documents really easily. The basic menus and drop-down menus in Comic Life are suitably hidden so that the children don't go customising parts willy-nilly and adding what we call "Dancing Bears." You know what we're talking about - the glitter brushscript in point 72 that is no good to man nor beast and certainly has no place on a restaurant menu.
With that in mind we build restaurant menus based on what the children have learned in Literacy on information texts and linked to the topic on healthy eating.
Next, we teach the children how to download appropriate high-res images and the difference between pixelated and non-pixelated. They do a little of this in Year 2 but they always love a 135 x 135px picture to be stretched full screen and think it's the height of deftness and speed.
What is a neat trick here is for EAL children to speak the search they want using the Voice Search function in the Google Search App. This, incidentally is handy if you have a standard school login for Chrome. The other devices show up on Chrome in the classroom computer (as long as you login) and can share the good searches on the IWB. If you have Apple TV then this is not an issue as you can share wirelessly.
Next, Logo making in Drawing Pad. Make a logo. Paint it. Search for a swatch online and build a logo based on one you have stolen (a good way to talk about copyright here!) with a screen shot. Import to drawing pad and re-design based on that image.
Import drawing pad image to the background in Comic Life. Add images of food, drinks and text boxes of prices, food descriptions, special offers and slogans and you're done. N.B. A little hint here is that the children who are less able to add and type. Why not allow them to photograph the pages of their literacy books and crop the pages. They can, if you want, colour in the pages and decorate before photographing. Personally I love the amateurish/ kid-like effect as it holds a kind of total ownership for the children - it's less abstract for them.
Import all media to iMovie and revise the learning from Year 2. Edit and film according to the six part plan for Year 3 (1: titles , 2: names, 3: tagline 4: acting, 5: slogans 6: credits) the children have set in the previous lesson. Choose a tagline from any tagline maker. Repeat. Add music and titles. Ken Burns the Menu and images and you have a complete advert!
Year 4:
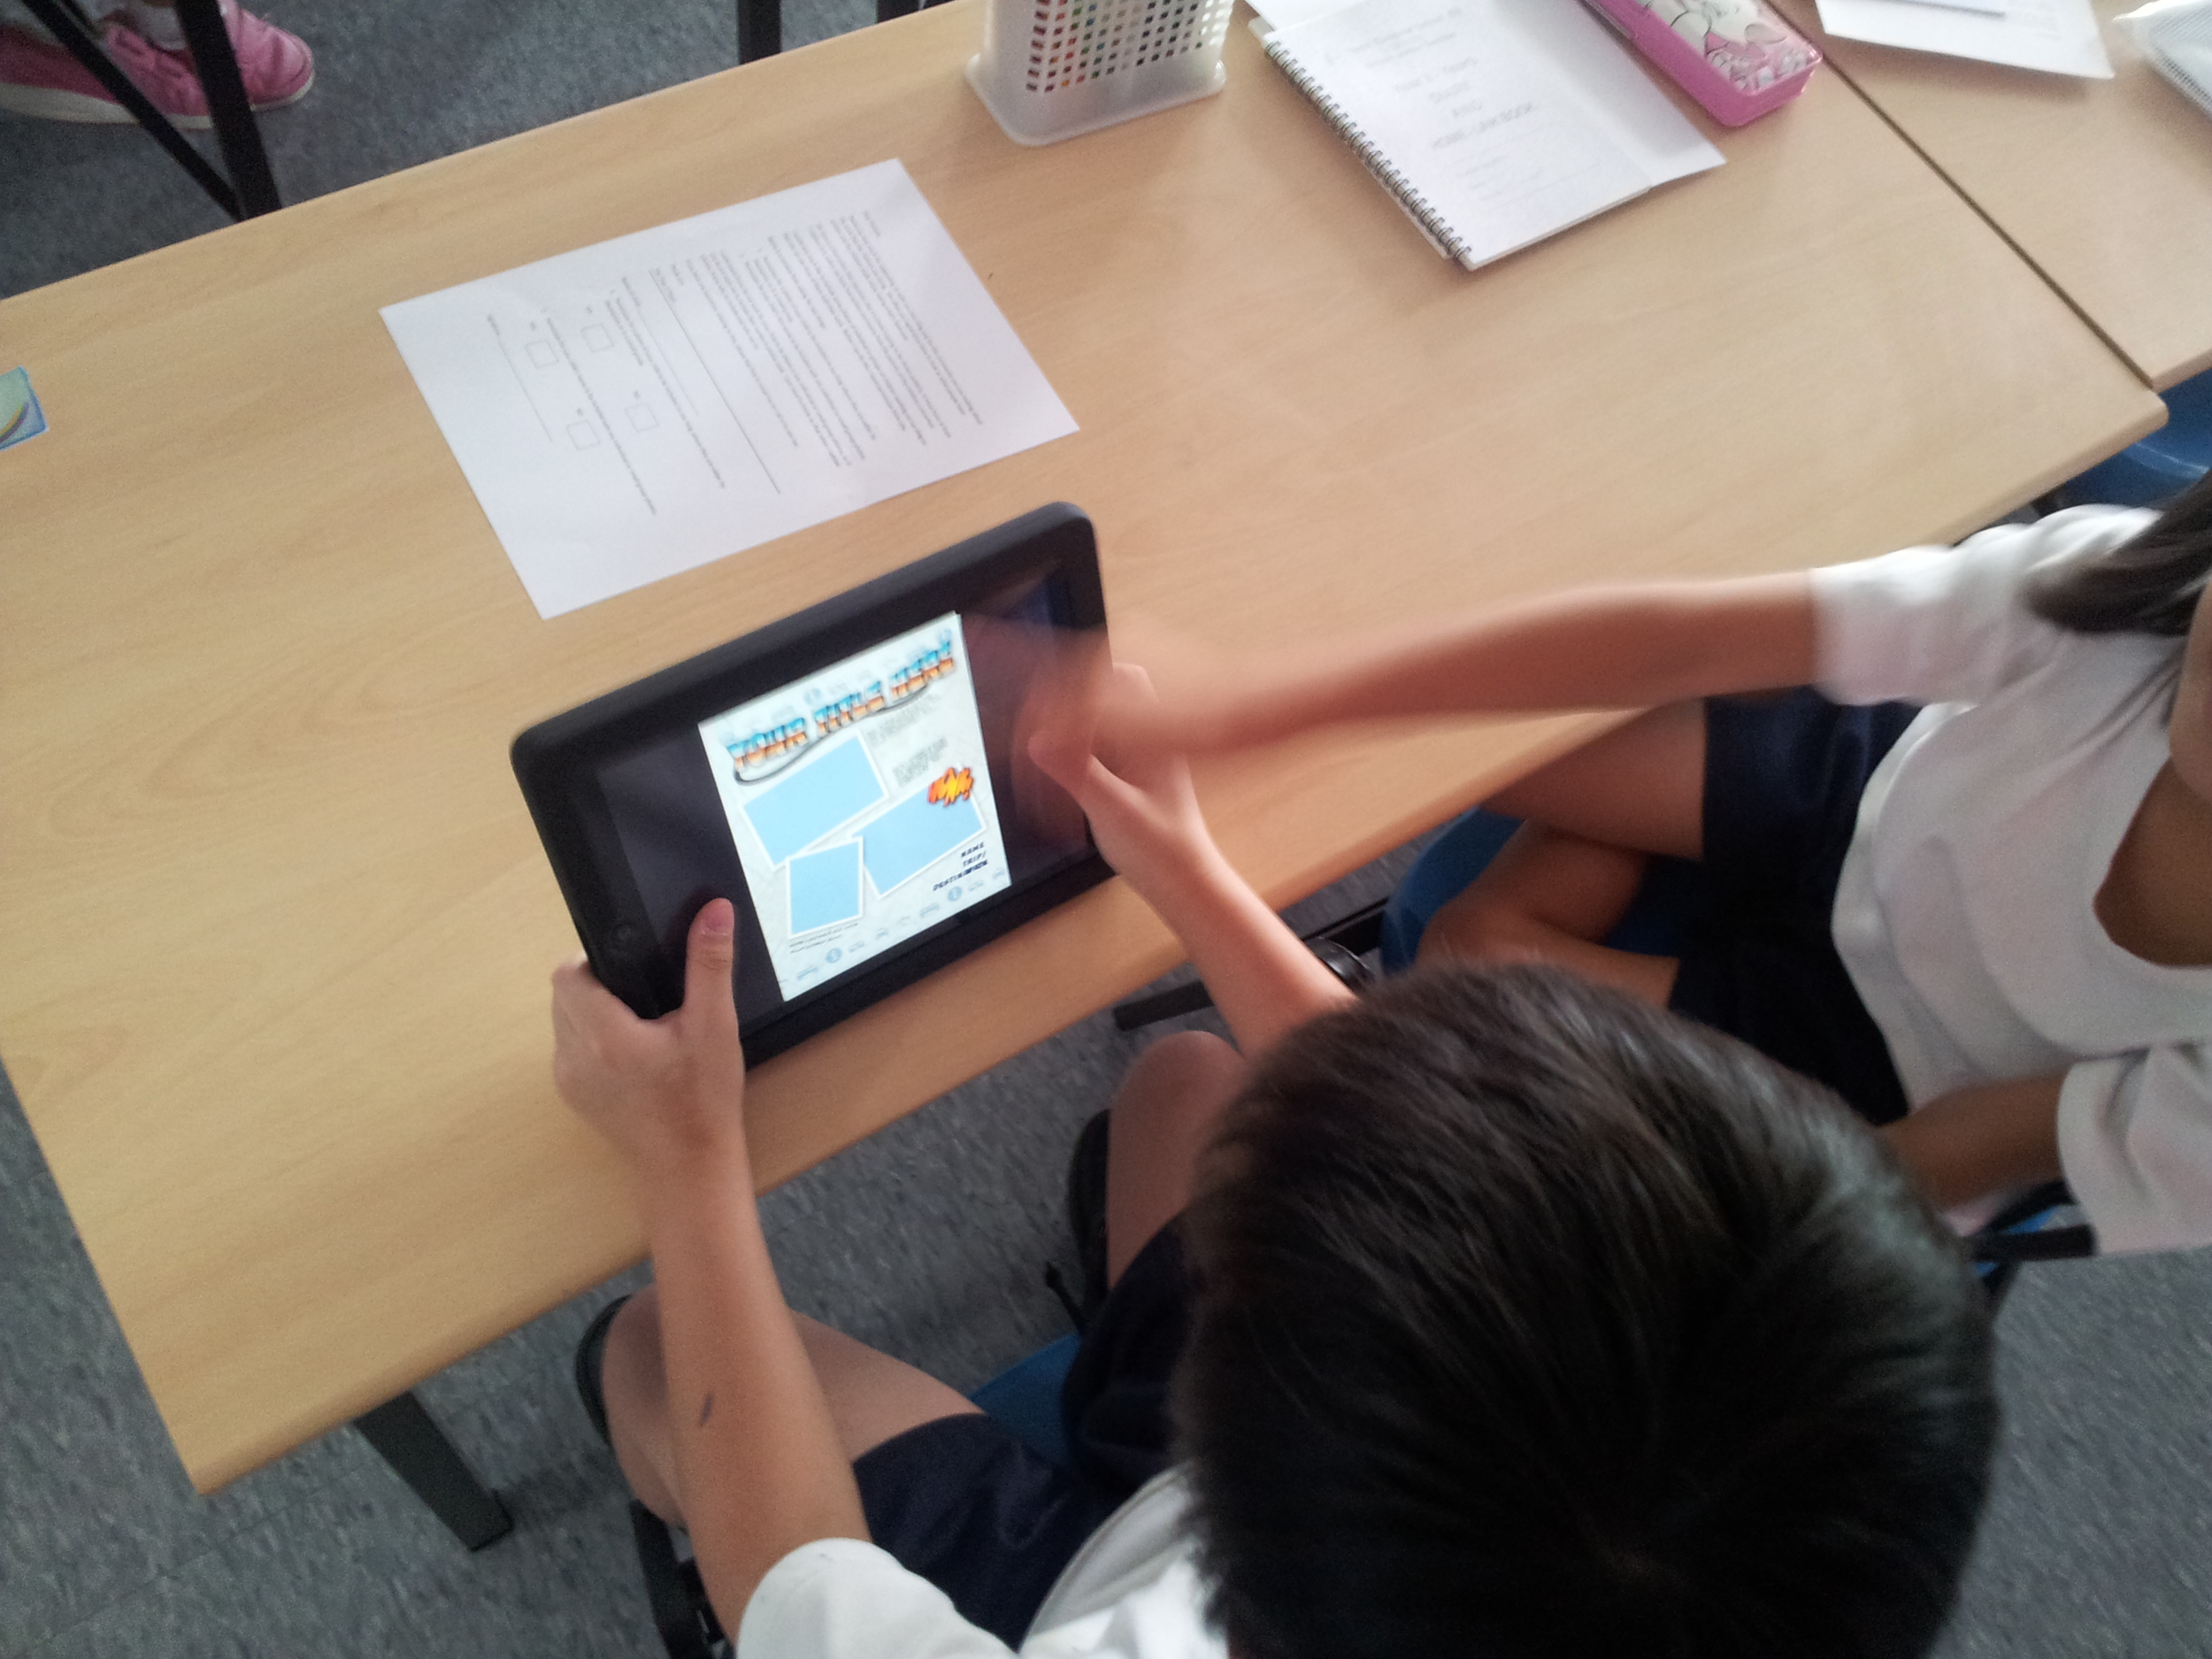
Documentaries created in Explain Everything (or Keynote) about endangered species around the world,
This topic is a varient on the Information texts topic we do by Google Mail and Web Apps and is a little bit more involved when making a website. But, we have to chop and change our outcomes based on if the Year 5 are making websites (Wix/ Weebly) in their discrete ICT sessions. Basically you have two choices here: Keynote or Explain Everything. Personally I prefer Explain everything (EE). Why? It's a bit like VoiceThread except a bit more personal and certainly more share-able.
EE is very much like a cross between PowerPoint, Jing and HyperCam2 except scribbled on and recorded in real time. Image a screen capture app that has the full gamut of annotation tools at your disposal and you can share it ANY way you like. And, you can import almost any other file into it too from almost anywhere. So this is where my love of interoperability in devices is hinged at the moment. Apart from Web DAV this app allows students to work on any type of presentation software at home or in lessons with the class teacher and work with the Technology Integrator at this app. Record, revise and present independently.
Further to the topic we add these elements to their learning too: download and convert films from YouTube or Vimeo using ClipGrab on the Macs , cut and edit to suit, add all from Explain everything, add intros from clips like Puppet Pals custom images and backdrops, export all to dropbox and finalise on the iMac or other PC.
The finished products are as we speak being finished and I shall post here.
Year 5:
Greek myths/ Space stories/ Other combination of Topic and Literacy. Film in front of green screen and use all apps previously used to make a Horrible Histories style film and moving backdrops/ Explain everything documentary and begin learning about camera angles.
This project is huge. It takes about 7-8 weeks of double sessions (much less if you're only running your class individually and have 1:1). This needs to be explained in a list. You also need a bit of preparation first.
Teacher: collate all images and video snippets for green screening before you start. build all folders for classes in dropbox and make sure auto upload is turned ON on all iPads so nothing is lost. Search and build a library of clips for children to access at speed. Make sure all dropbox apps on the Macs and class PCs are operational and then share the passwords with your class.
1. Script written. So important for any production. Plan out spoken parts, acting and storyboard narration. Decide as we did if you're story is to be a verbal story or filmed. You will also need to practice with a greenscreen in this week too.
2. Record all sound using Sound Recorder HD. Allows direct import to dropbox and access on the class computer when finished. We created a Project template in iMovie on the Macs in readiness for the import of images and sound.
3. Choose all images needed for story telling. Same for all video. Import to events in iMovie. Import all media to iTunes and iPhoto. Train all staff and students the importance of sync within the Macs.
4. Learn about camera angles and that all subjects DO NOT NEED TO BE IN THE CENTER OF THE SCREEN. Demo and set home work for learning about camera angles from FilmStreet.co.uk. Practice and get films wrong. Edit. Re-film. Repeat. And... review.
5. The last lesson can get very involved.
Year 6:
Combine all the above with a longer project based on Popular author or a brief from a story such as the Water Tower by Gary Crew. Semi-independently combining graphics, text, audio, music, FX, Green screening, camera angles, props and costumes.